Twitter UI Clone with Flutter - Final part
Welcome, everybody!
This is the last post of the Twitter UI clone using the Flutter series. You can read part 1.
We have already created one tweet, in this post, we are going to create a list of tweets and add floating button action!.
At first, I refactored the code and renamed MyApp widget to TwitterCloneApp and I renamed MyHomePage file to HomeScreen.
Also, I created a new Stateless Widget called Tweet because main.dart had many responsibilities.
But, what is a Stateless Widget?. Well, almost everything is a Widget in Flutter.
Like its name say, a Stateless Widget is a widget that doesn't require a mutable state. This widget describes part of the user interface by building given others widgets. Stateless Widgets don't depend on anything other than some configuration to create them.
In this case, Tweet widget is perfect for this purpose. Tweet doesn't need external information or keeping mutate state.
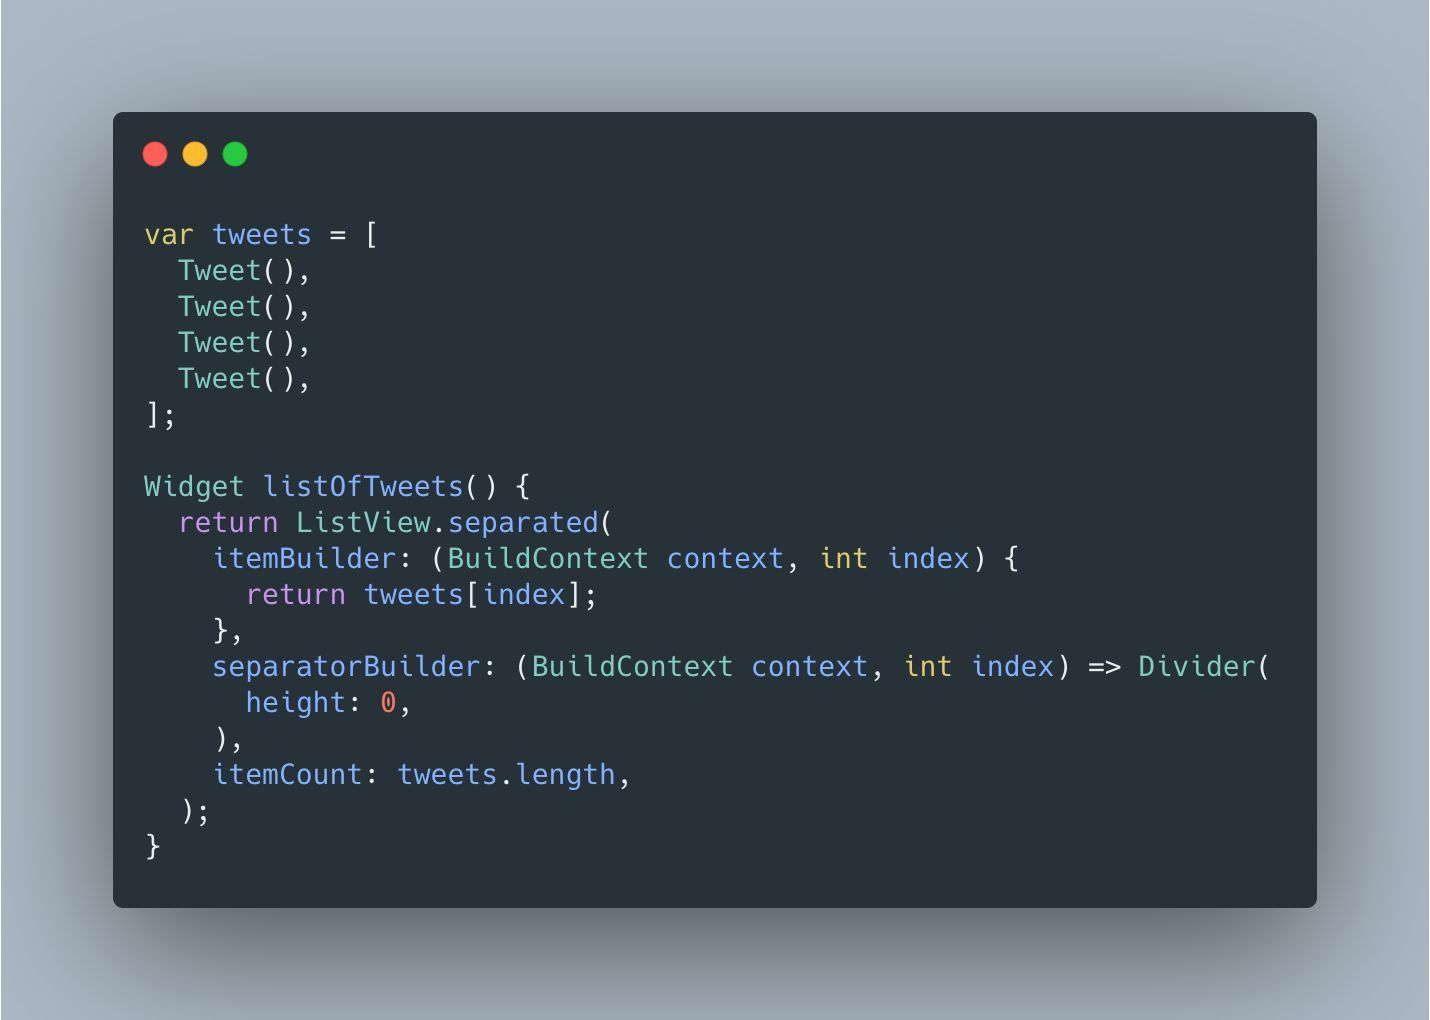
For this, we are going to create it using ListView.separated().

Divider is a simple widget that shows a horizontal line.
We could copy the many times Tweet widget just for testing.
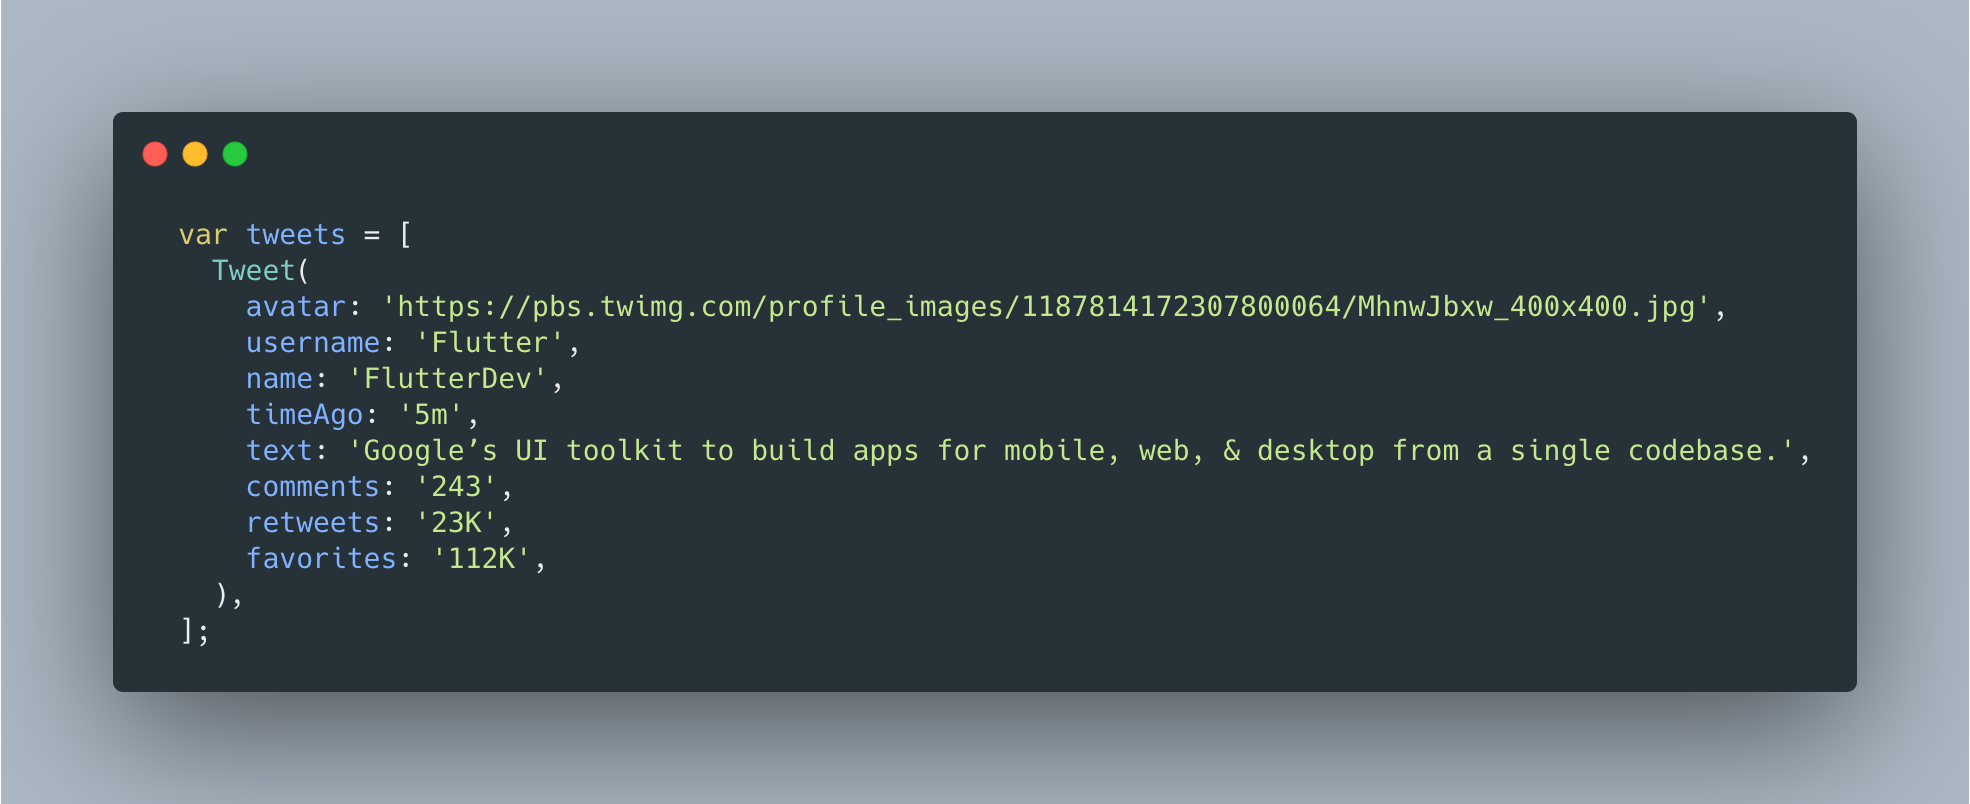
But Tweet widget is useless because is hardcoded, we could parameterise them.
So, Tweet constructor looks like:

required annotation indicates must include an argument specified.
By convention, widget constructors only use named arguments. Named arguments can be marked as required using @required. Also by convention, the first argument is key, and the last argument is child, children, or the equivalent.
So, we have to create with specified arguments our Tweet widget.

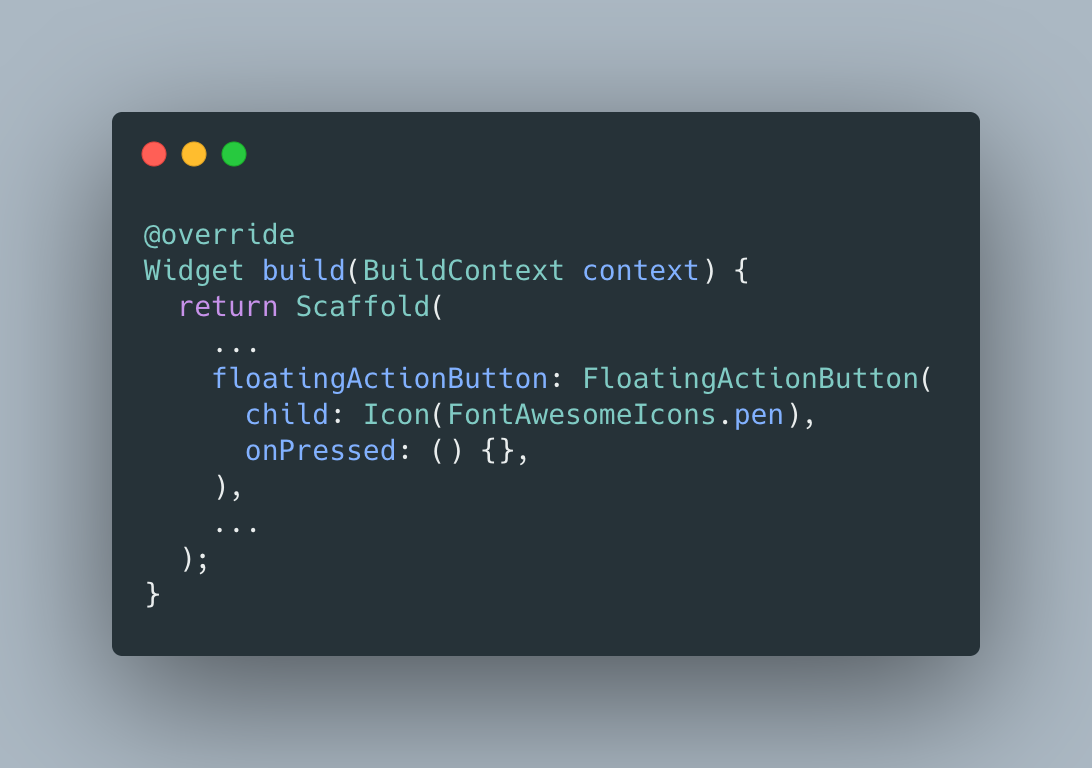
To create a floating button, Scaffold widget has a property called floatingActionButton and we just could to create a FloatingActionButton widget.

This was the easy part, right?.
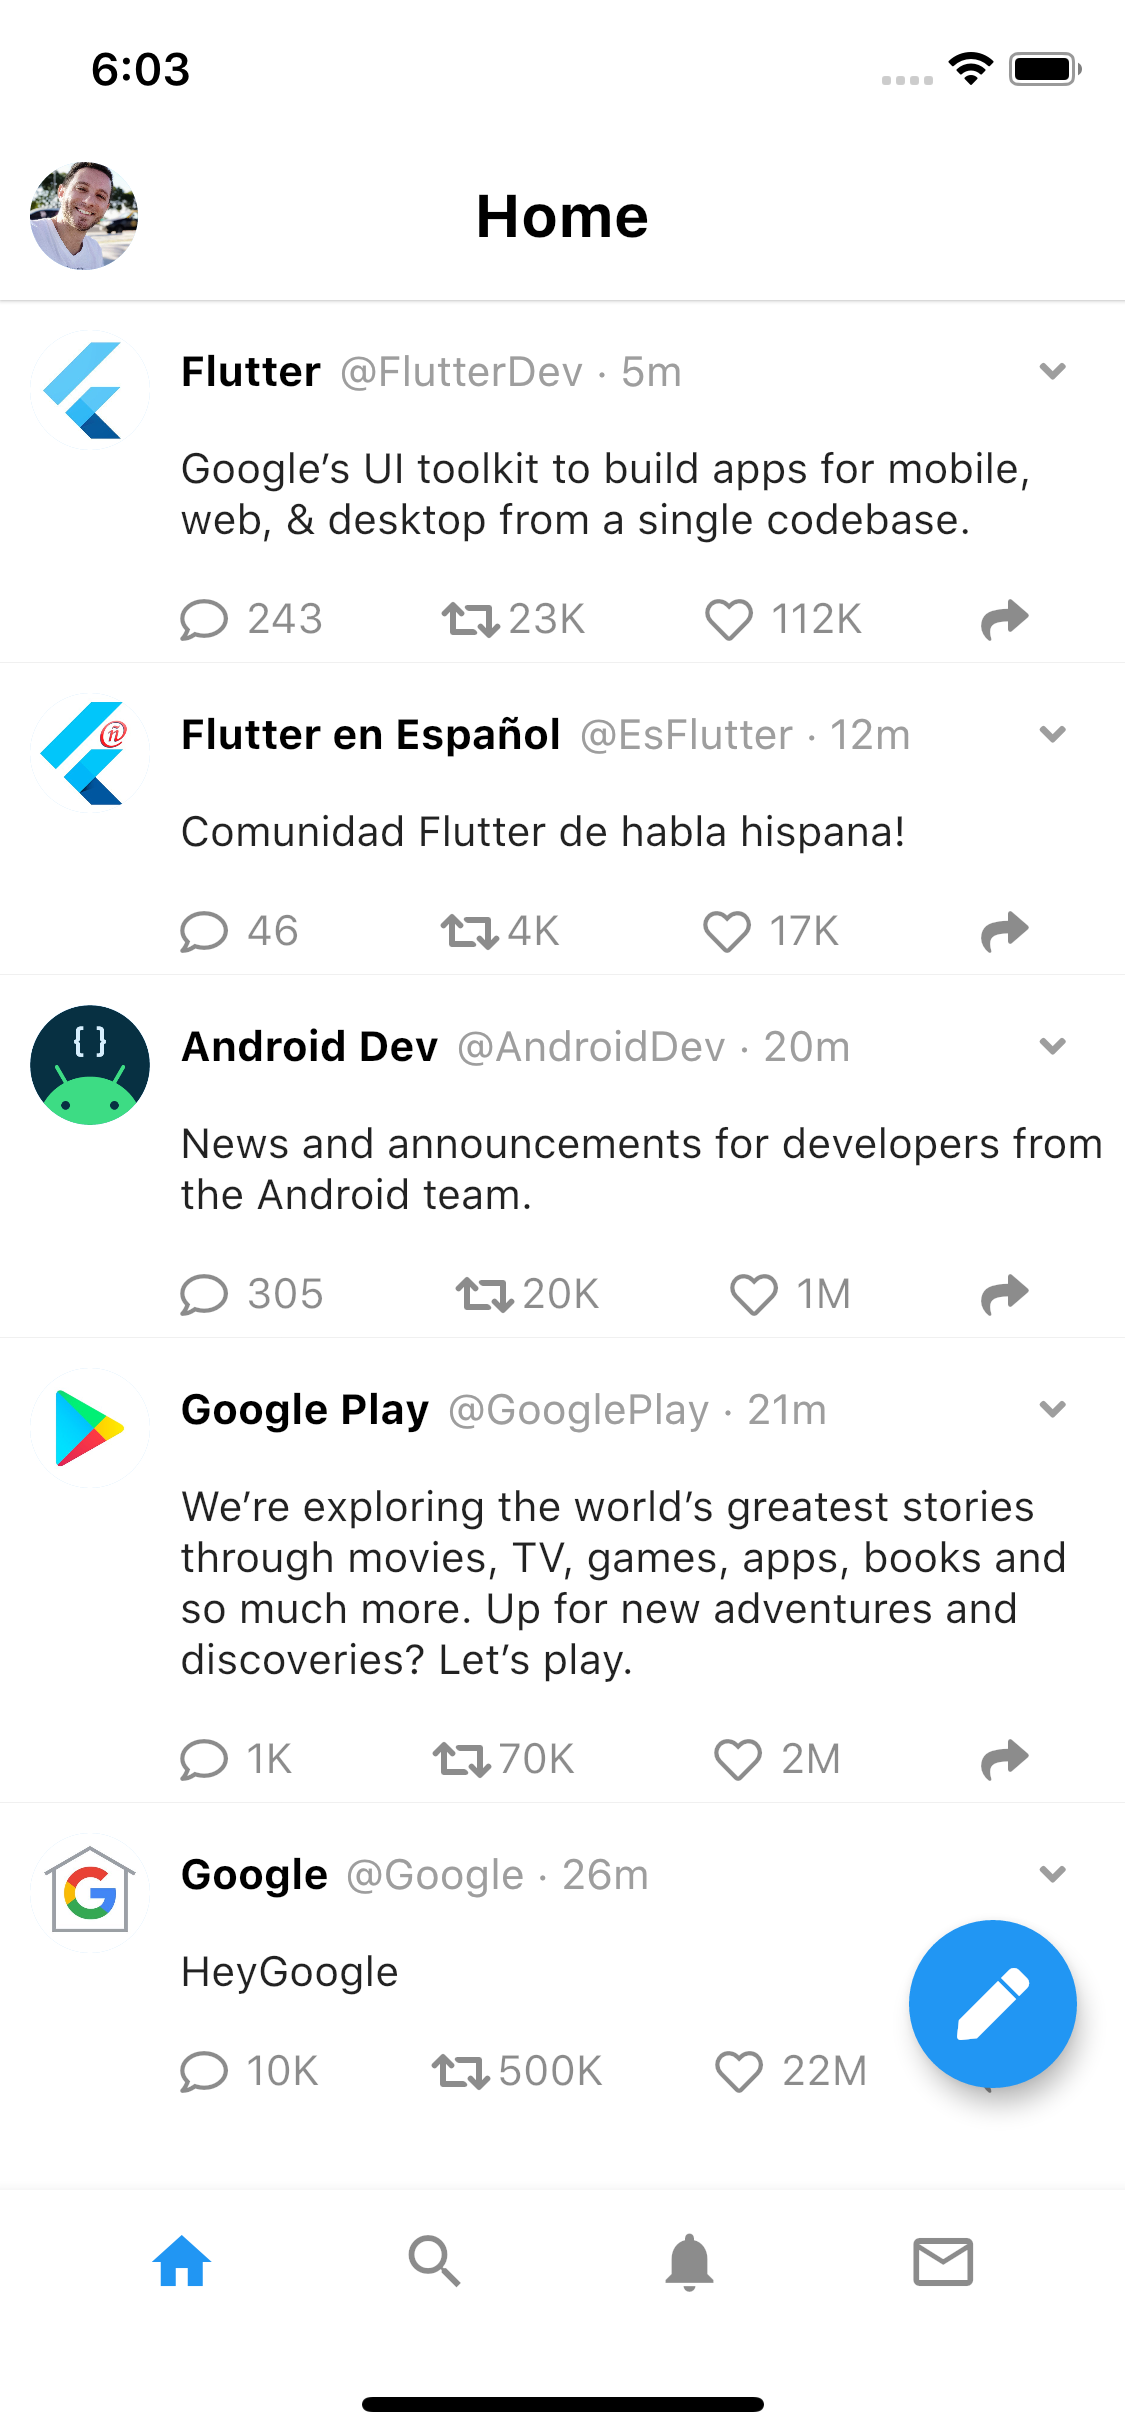
Finally, if you create many Tweet with different data, you are going to get something like that:

The full code is available on Github.
If you want, you can read my previous Flutter articles!.
That's all folks!
Enjoy!