Stack and Positioned widget in Flutter
Hi everybody!
In this post, we are going to build a beautiful and delicious UI using mainly Stack and Positioned widget.

This design has a few components: header/background, cupcake, and desserts.
 Ok, I'm hungry.
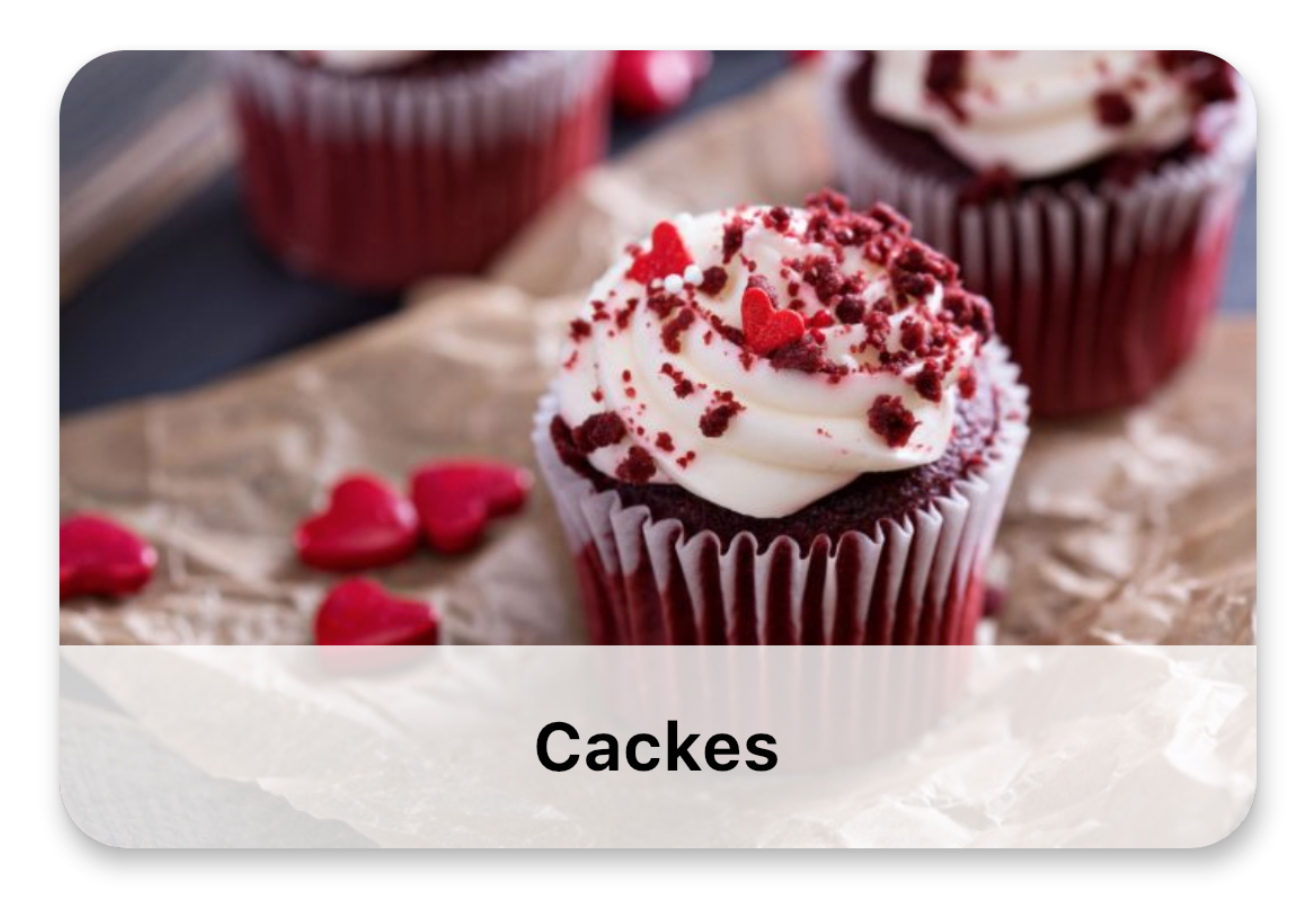
The first step will be to build each dessert which contains an image and section name with an opacity background.
 dessert_view.dart
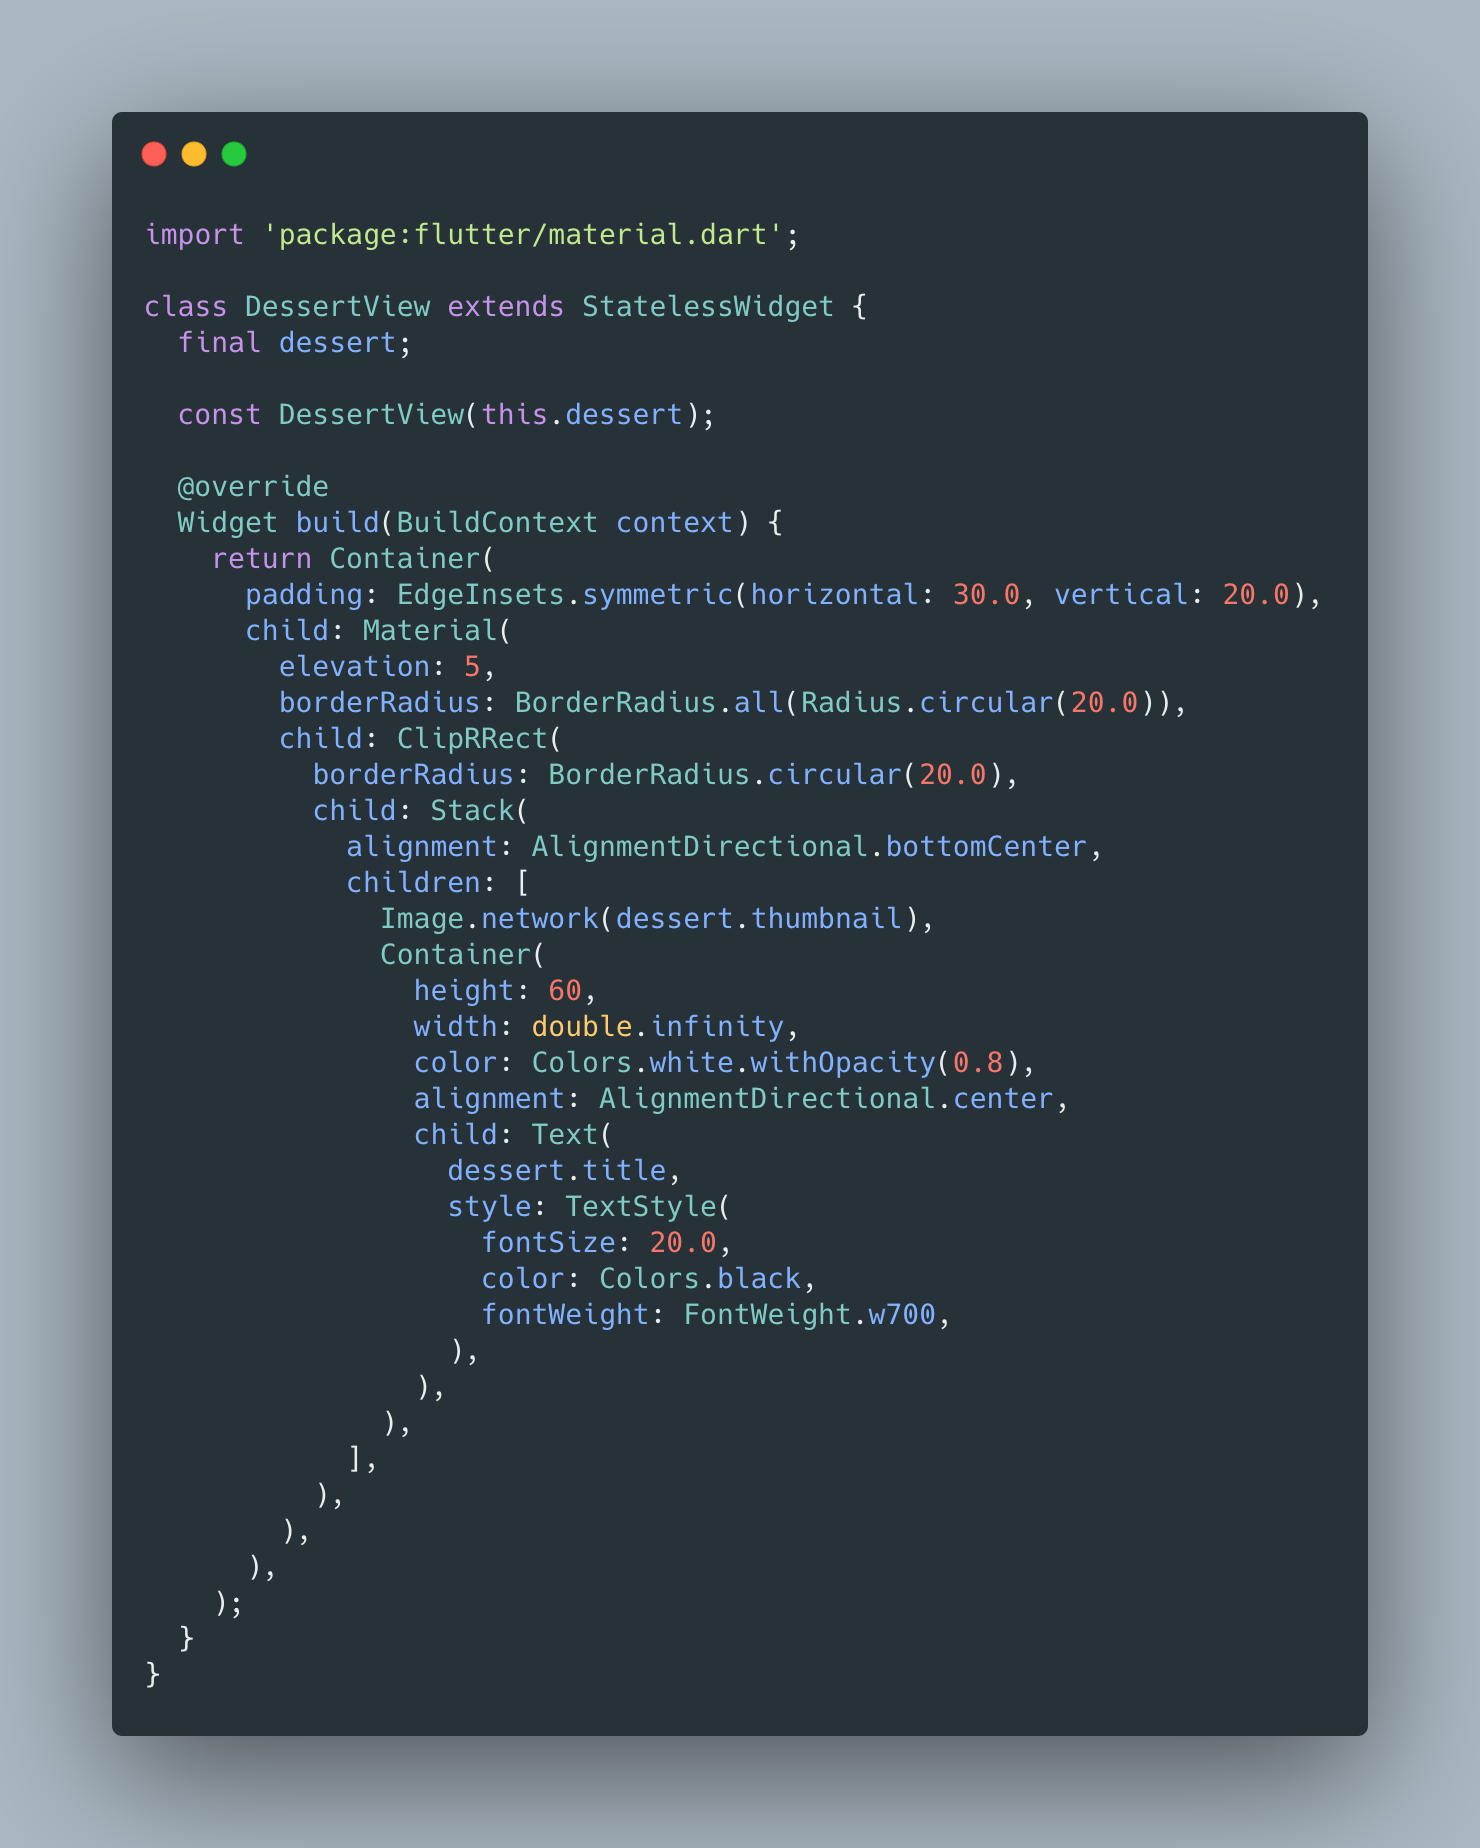
In order to overlay an Image and Text we are going to need a Stack. *According to official documentation: This class is useful if you want to overlap several children in a simple way.
 dessert_view.dart
Stack widget that positions its children relative to the edges of its box. Stack supports two types of widgets: *positioned (wrapped in Positioned widget) or non-positioned (simple widget like Image).
In this case, I used a Stack with two non-positioned children because it was not necessary to use a Positioned child. If you want, you can use a Positioned to align text for example.
In addition, I used ClipRRect to make a circular border and Material for elevation property.
The second step will be to mix AppBar with a background:
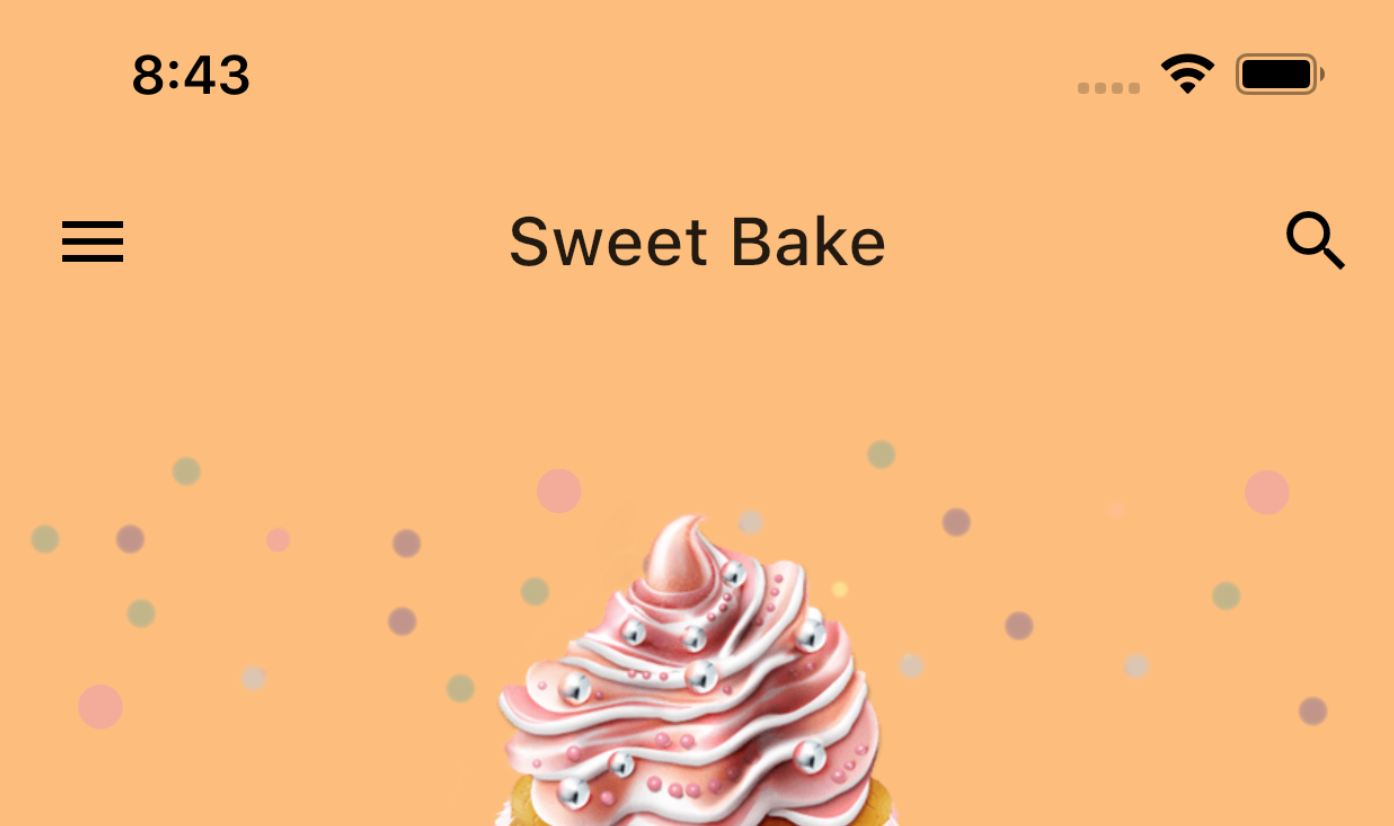
AppBar has a property called elevation set on 0 to remove AppBar shadow and set backgroundColor to Color.fromARGB(255, 254, 190, 120).
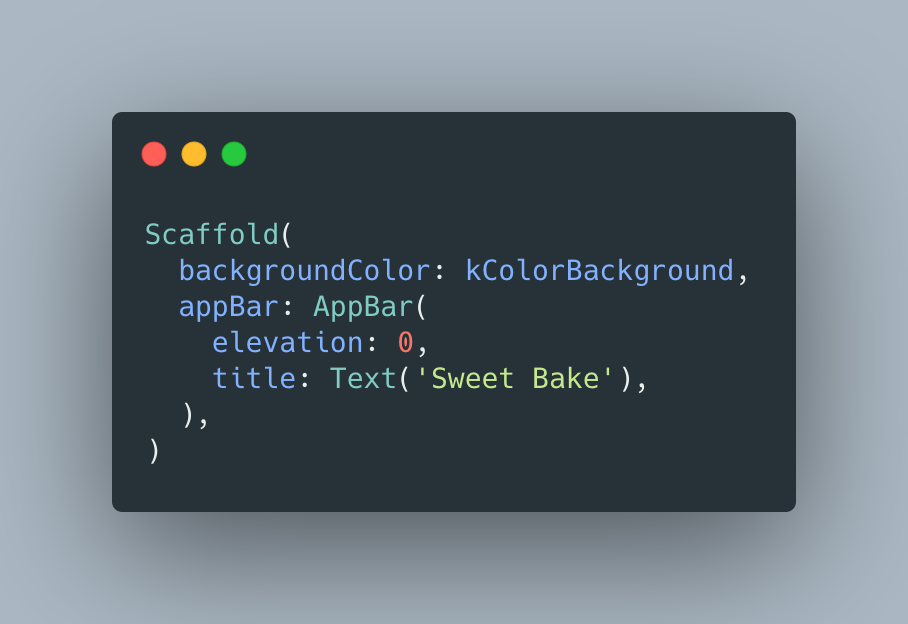 Scaffold and AppBar
The third step will be to build the body, I mean cupcake and desserts.
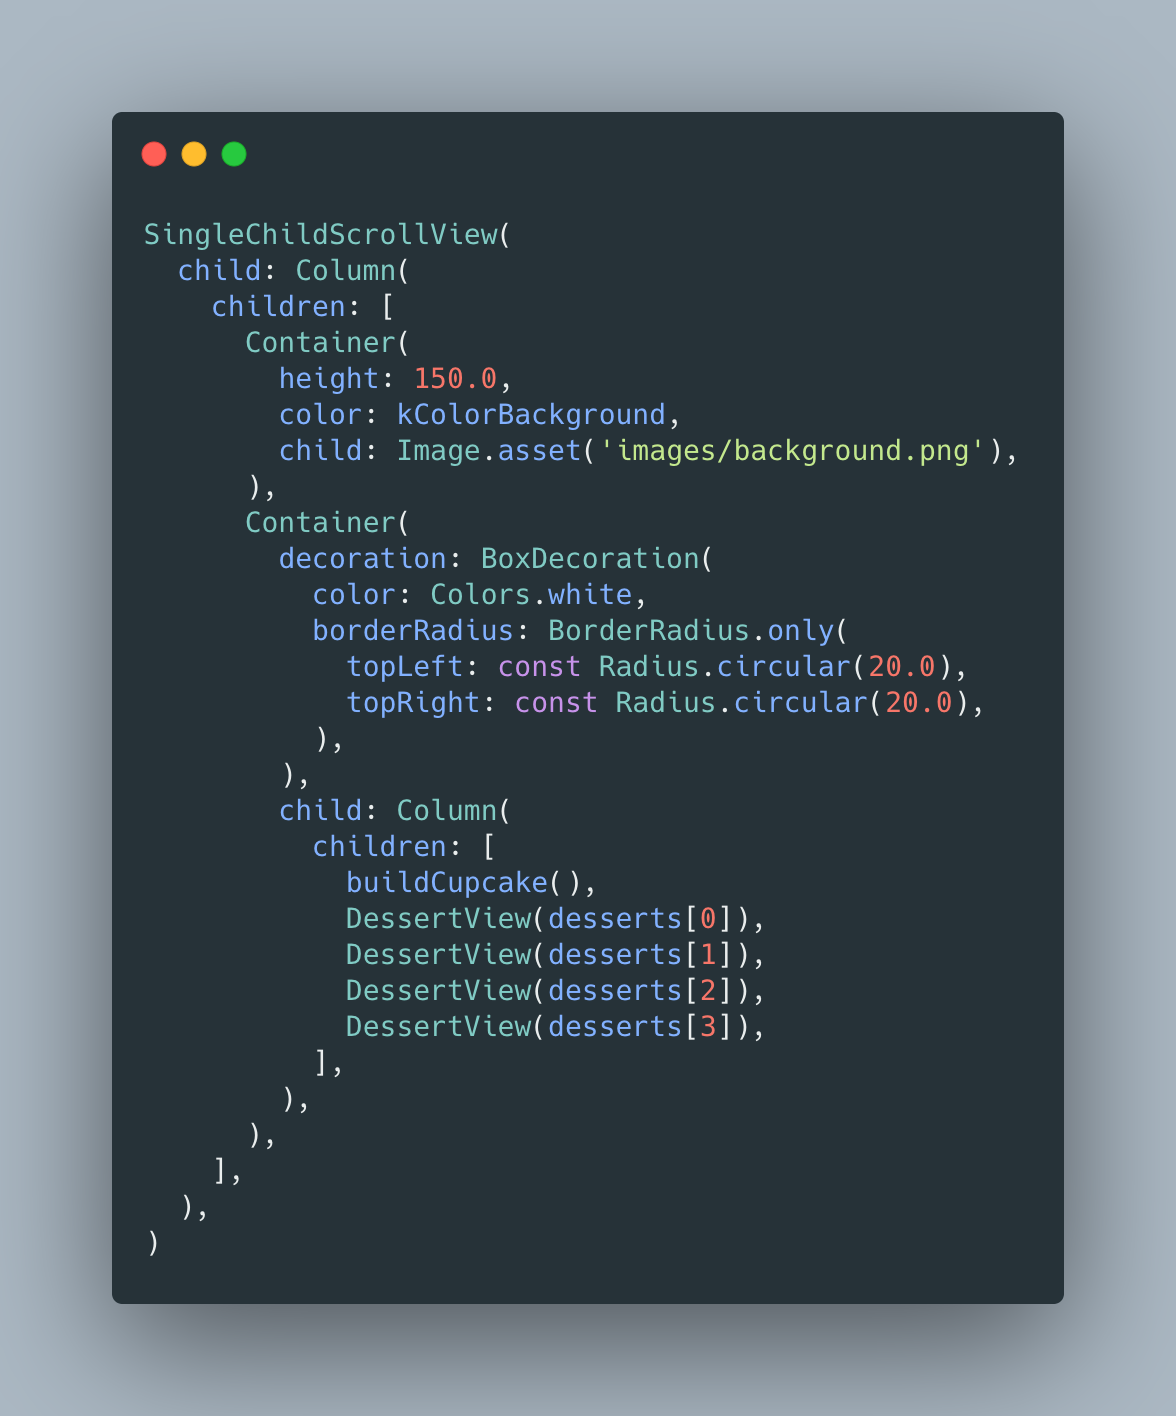
The body is a Column scrollable, so SingleChildScrollView and a Column as a child.
Column has two Container as children. First Container is an image as background. The second Container has a decoration that make a circular left and right top border.
This second Container has another Column as a child. This column will have beautiful cupcake and desserts.
The last step will be to build a cupcake overlay between body and background.
 build cupcake
In order to overlay two components, we need to create a Stack with Positioned and move it bottom: 10.0.
If you don't add an empty Container with some height will fail because Positioned widget needs some reference of size. And an important thing is to set the property clipBehavior on Clip.none then the image will be displayed completely. Otherwise, the image will display cropped.
There are many ways to perform this design, try it out!
The full code is available on GitHub.
If you want, you can read my previous Flutter articles!.
That's all folks!
Enjoy!